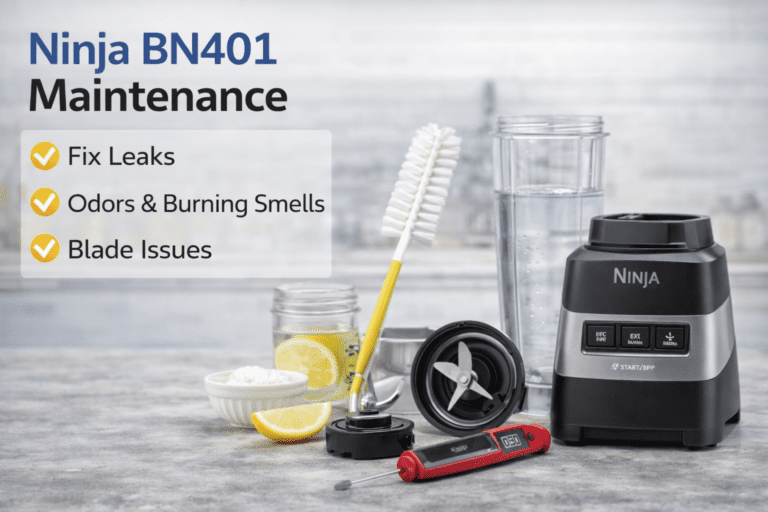
The Kitchen in the Box Professional High Performance Blender is compact, powerful, and built for small kitchens. Its tight assembly and high-speed motor make it ideal for smoothies and quick blends.
But compact design means tighter airflow, smaller seals, and faster heat buildup.
Most performance issues with this model are not defects. They are maintenance-related. Overfilling, moisture retention, and residue buildup shorten the lifespan quickly.
This guide walks you through daily cleaning, deep sanitation, gasket care, overheating prevention, and long-term storage so your compact powerhouse keeps performing at full strength.
If you want to see how this model handles frozen ingredients and dense smoothies in real-world testing, review our complete Kitchen in the Box performance evaluation and stress test results.
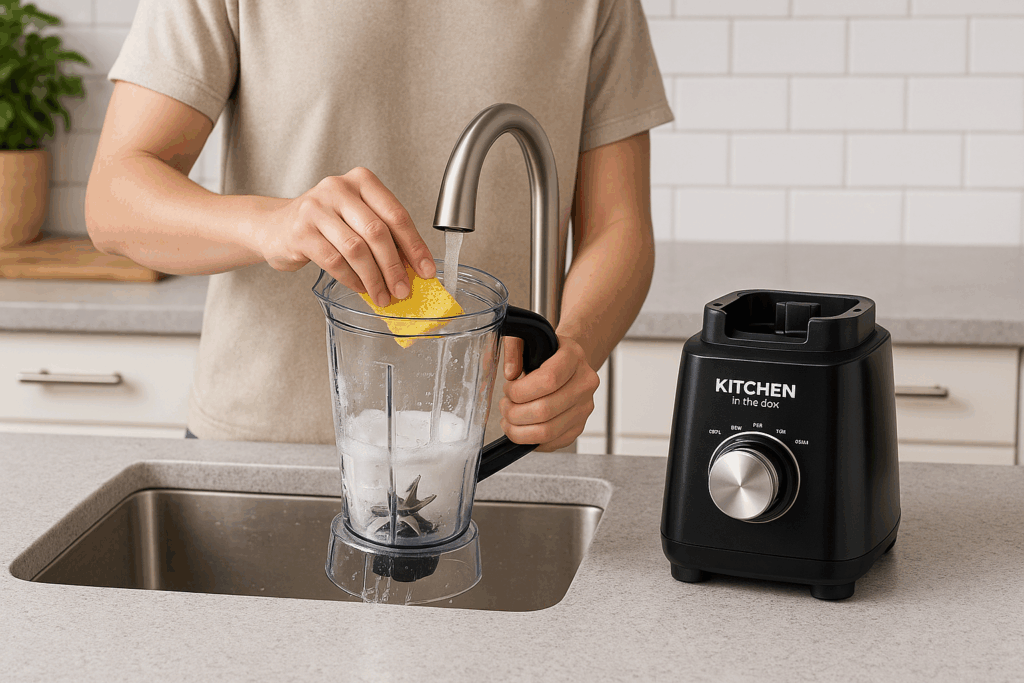
Table of Contents
Why Maintenance Is Critical for Compact Blenders
Compact high speed blenders face unique risks:
- Faster motor heat buildup
- Gasket compression from tight lid seals
- Food trapping near the blade shaft
- Limited ventilation space
Common complaints include:
- Kitchen in the Box blender is leaking from the bottom
- Burning smell during blending
- The lid stuck after blending
- Blade not spinning properly
- Loss of blending power
Most of these issues trace back to improper cleaning or overloading.
Routine care protects:
- Blade shaft rotation
- Gasket elasticity
- Motor cooling vents
- Jar clarity
For structured care routines across compact and full-size models, visit our central blender cleaning and maintenance library.
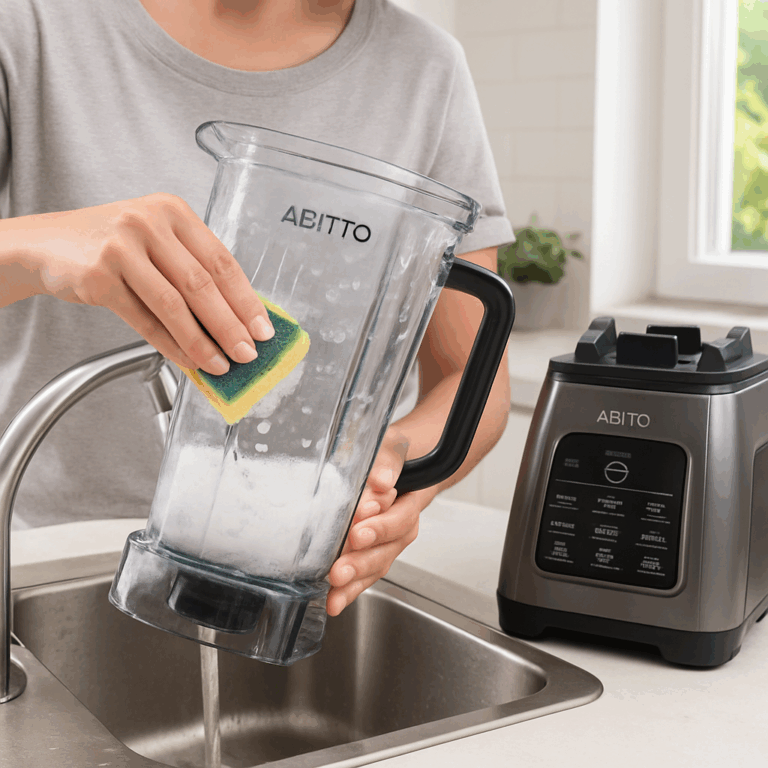
How to Clean the Kitchen in the Box Blender After Every Use
Daily rinsing prevents odor, mold, and seal fatigue.
Step-by-Step Daily Routine
- Unplug the unit.
- Rinse the jar immediately after blending.
- Fill halfway with warm water.
- Add one drop of mild dish soap.
- Blend for 20 to 30 seconds.
- Rinse thoroughly.
- Air dry with lid removed.
Never reassemble while wet.
Compact models trap moisture faster than larger blenders.
Sticky blends like banana or protein powder should soak briefly before the rinse cycle.
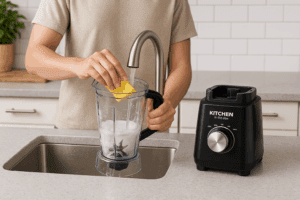
Deep Cleaning for Odors and Sticky Residue
Even with daily cleaning, protein shakes and nut butters leave film near the blade base.
Vinegar Odor Reset
- Fill the jar with 50 percent white vinegar and 50 percent warm water
- Let soak for 15 to 30 minutes
- Blend briefly
- Rinse and air dry
This removes odor-causing bacteria embedded in plastic.
Baking Soda for Stains
- Create a baking soda paste
- Apply with a soft cloth
- Rinse thoroughly
Avoid abrasive pads. Scratches increase odor retention over time.
Blade and Gasket Maintenance
The blade assembly and rubber gasket are the most failure-prone areas.
Blade Care
- Never insert fingers directly
- Use a soft bottle brush for debris
- Soak if residue hardens
Food buildup under the blade base increases resistance and motor strain.
Gasket Inspection
- Remove weekly
- Wash separately
- Dry fully before reinstalling
- Inspect for cracks or flattening
Seal compression is the main cause of bottom leaks.
If you are comparing airflow design and durability across compact and full-size units, explore our high-performance blender model comparison directory.
Kitchen in the Box Blender Smells Like Burning
A burning smell usually signals overheating.
Common triggers:
- Overfilling above the max line
- Blending frozen fruit without enough liquid
- Running continuous cycles
- Blocked ventilation slots
Compact motors generate heat quickly.
What To Do
- Stop blending immediately
- Unplug
- Allow 20 to 30 minutes to cool
- Check the blade base for stuck debris
- Inspect vents underneath
Repeated overheating weakens internal insulation.
Blender Not Turning On
If the blender will not start:
- Confirm the jar is properly seated
- Ensure lid alignment engages the safety lock
- Allow cooling time
- Check the power outlet
Many compact units include safety interlocks that prevent operation when misaligned.
Lid Stuck After Blending
Thick or hot blends create suction pressure.
Wait a few minutes before removing the lid.
Running a short rinse cycle can relieve internal pressure.
Avoid forcing the lid, as this damages the gasket.
Heavy Use Maintenance Schedule
If blending daily:
- Rinse immediately after each use
- Deep clean twice weekly
- Remove the gasket weekly
- Inspect vents weekly
- Avoid blending for longer than 60 seconds continuously
Short rest cycles extend motor lifespan significantly.
Seasonal Deep Cleaning
Every 2 to 3 months:
- Disassemble the jar, lid, and gasket
- Soak in warm water with baking soda
- Clean the blade base thoroughly
- Wipe the motor base
- Clear ventilation slots
Humidity accelerates mold formation.
Increase frequency in the summer months.
Long-Term Storage Tips
If storing for weeks:
- Clean and dry all parts fully
- Store the lid off the jar
- Keep components separated
- Avoid humid cabinets
- Never store a pitcher on base
Airflow prevents trapped moisture.
Mold Prevention Strategy
Mold commonly forms:
- Under the gasket
- Around the blade base
- Inside lid grooves
Prevent mold by:
- Air drying separately
- Removing the gasket every few uses
- Never sealing damp parts
- Running a monthly vinegar rinse
Replace gaskets if odor persists after cleaning.
Replacement Part Care
When replacing the jar or gasket:
- Hand wash before first use
- Avoid high-heat dishwasher cycles
- Confirm compatibility with the exact model
- Store spare seals in a dry sealed bag
Compact blender parts are often model-specific.
Kitchen in the Box Blender Troubleshooting Questions
Why does my Kitchen in the Box blender smell like burning?
A burning smell usually means the motor overheated from thick blends or overfilling above the max line. Compact motors build up heat quickly when resistance is high. Stop blending immediately and allow 20 to 30 minutes of cooling before restarting.
Why is my Kitchen in the Box blender leaking from the bottom?
Leaks typically occur when the rubber gasket is worn, misaligned, or compressed from overtightening. Moisture trapped during storage can also weaken the seal. Inspect the gasket for cracks and replace it if seepage continues.
Why is the blade not spinning properly?
Blade rotation can stall when food debris hardens beneath the blade base. Thick mixtures without enough liquid increase torque resistance and strain the motor. Disassemble, soak, and clean thoroughly before using again.
Can this compact blender overheat easily?
Yes. Smaller high-speed motors build heat faster than larger countertop units. Limit blending to under 60 seconds for dense ingredients and allow short rest intervals between cycles.
How often should I deep clean this blender?
Deep clean weekly if used daily, especially when blending protein shakes or nut butters. Vinegar rinses prevent odor buildup and hidden residue near the blade shaft. Seasonal full disassembly helps extend motor and gasket lifespan.
Final Thoughts
The Kitchen in the Box blender delivers strong performance in a compact frame.
But compact design demands disciplined maintenance.
Daily rinsing prevents odor.
Seal care prevents leaks.
Rest cycles prevent overheating.
Dry storage prevents mold.
With proper care, your compact blender will maintain smooth blending power for years.