Blender maintenance starts with three simple habits: clean removable parts soon after use, keep moisture away from the motor base, and follow the instructions written for your exact model. These steps help prevent dried residue, trapped odors, leaking seals, and unnecessary strain during future blending cycles.
This page brings together IMSolutionRealm’s blender cleaning and troubleshooting resources. You can find model-specific guidance for Ninja, Vitamix, NutriBullet, KitchenAid, Blendtec and other blender designs.
Blenders do not all use the same containers, blade assemblies, seals, or locking systems. A cleaning method that works for one model may not be approved for another. Check the model number and manufacturer’s manual before removing parts, using a dishwasher, or attempting to correct a problem.
If you need specifications, warranty information, or a closer look at the appliance before troubleshooting it, you can check the design details for the blender you own.
Latest Blender Maintenance Guides
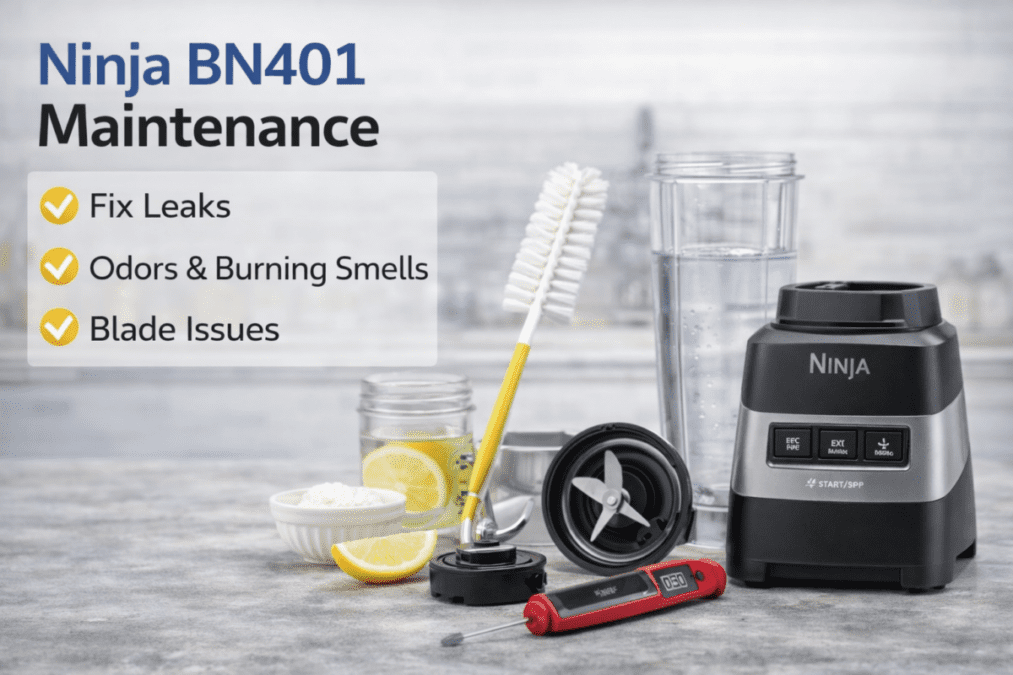
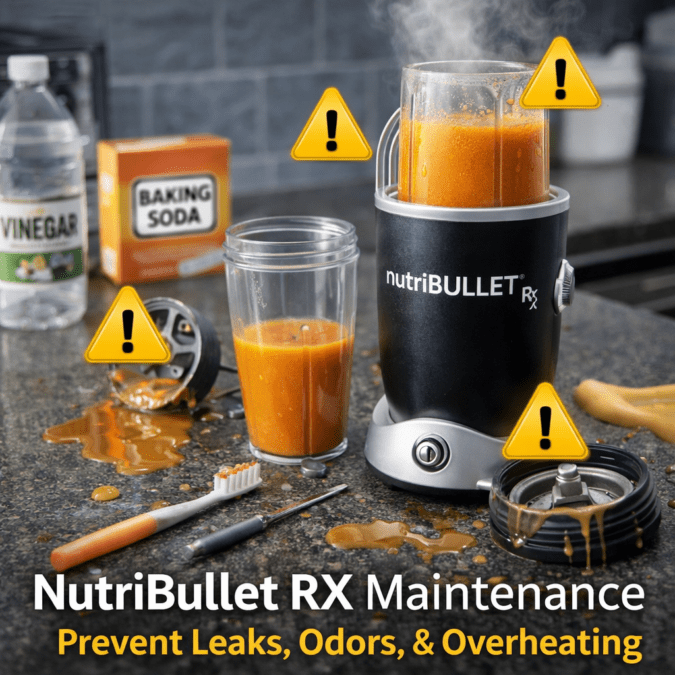
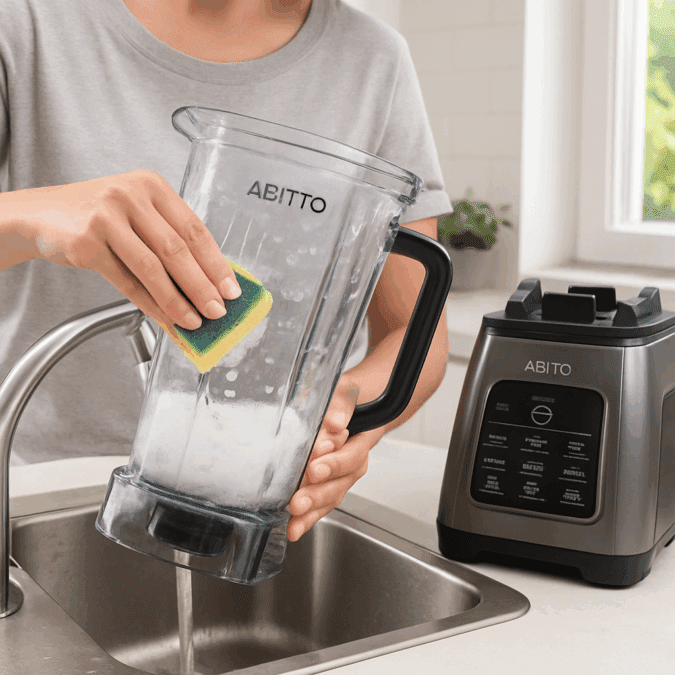
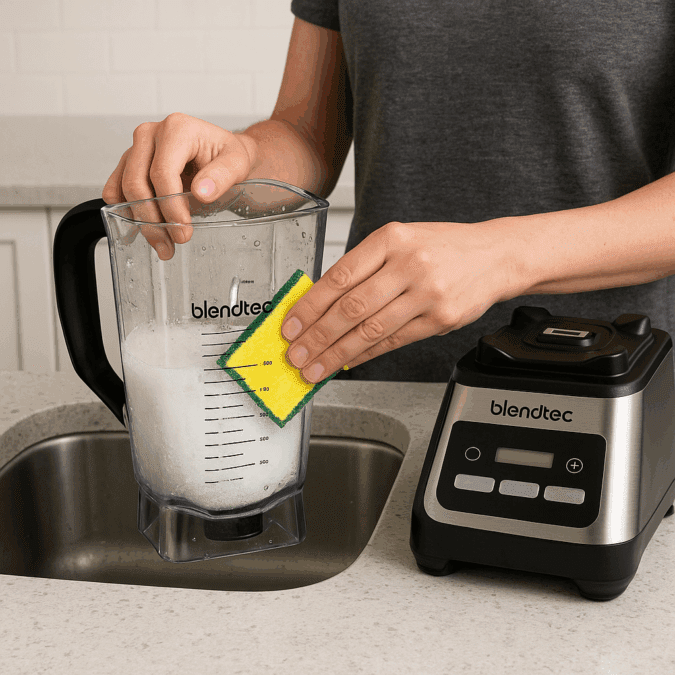
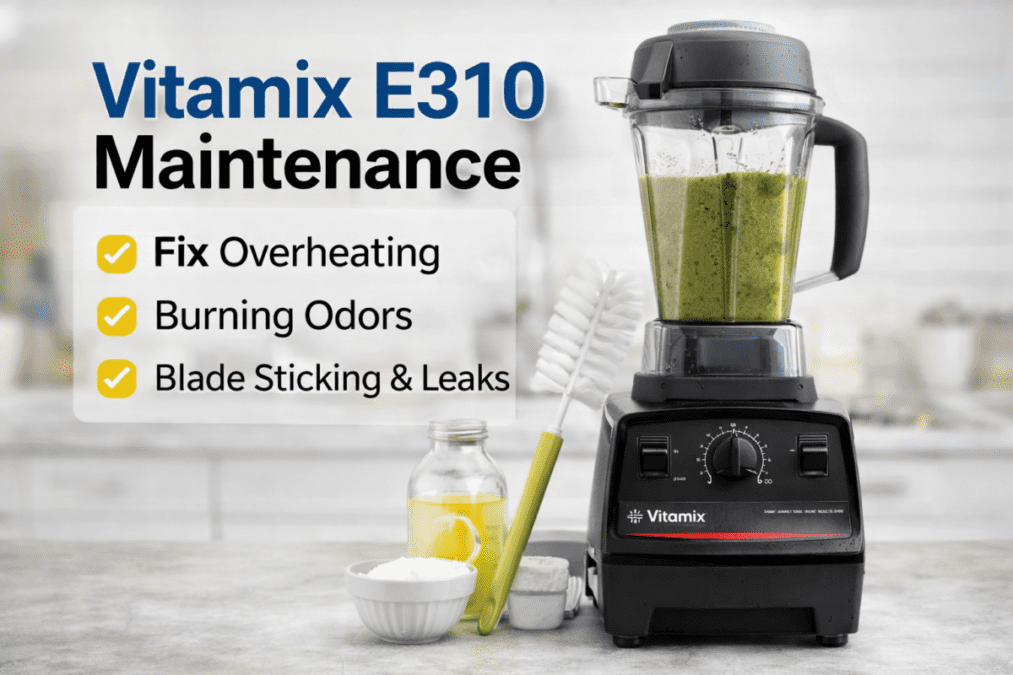
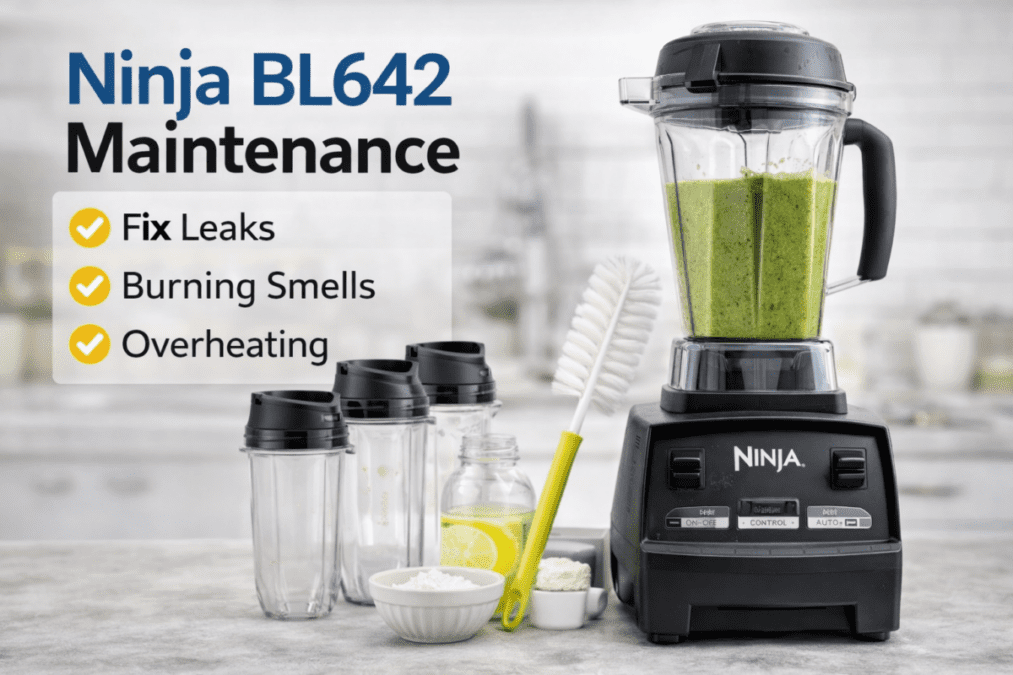



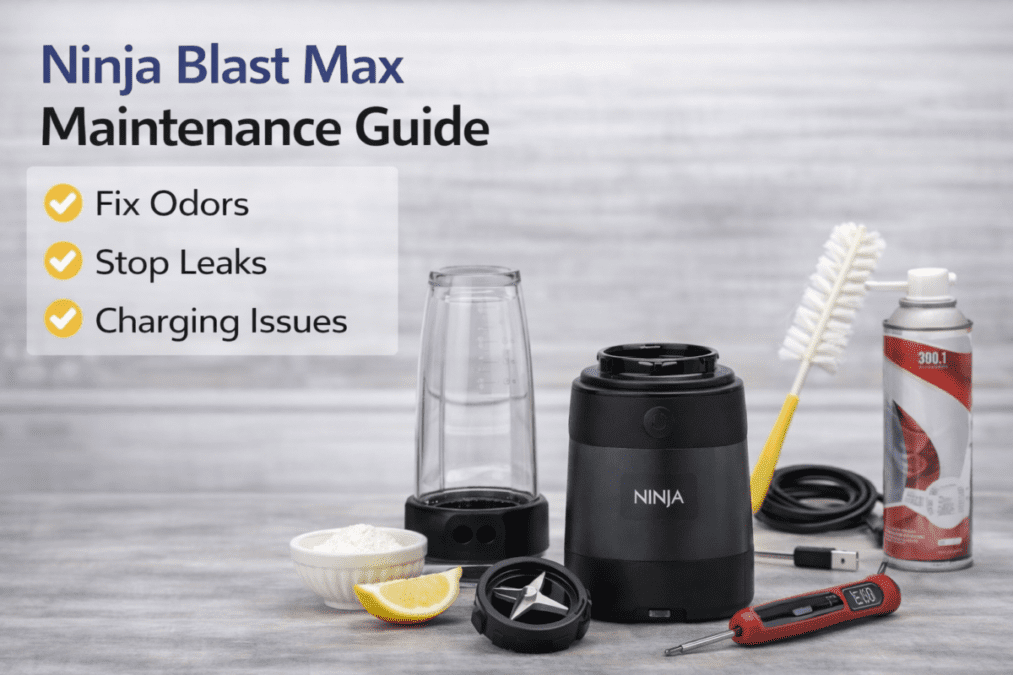



Start With the Manual for Your Exact Blender
A model number matters more than the brand name alone. Two blenders sold under the same product family can use different pitchers, cups, blades, gaskets, and control systems.
Find the model number on the underside or back of the motor base. You may also find it on the original box, receipt, or product registration. Use that number when locating the manufacturer’s manual or replacement components.
The manual should answer several important questions:
- Which removable parts can go in the dishwasher
- Whether the blade assembly should be removed
- Whether the blender can process hot ingredients
- How long a blending cycle should run
- How the container locks onto the base
- What warning lights or error codes mean
- Which replacement parts fit the model
Do not assume a replacement cup or blade fits because it looks similar. Small differences in threads, tabs, seals, and safety mechanisms can prevent proper operation or create a leak.
A Practical Blender-Care Routine
The best maintenance schedule depends on what you blend and how often you use the appliance. Thick mixtures, oils, dairy ingredients, and fibrous produce usually leave more residue than water-based drinks.
| When | What to check |
|---|---|
| After each use | Rinse and clean approved removable parts, wipe spills and allow components to dry |
| Weekly with frequent use | Inspect lid channels, threads, seals and areas where residue collects |
| Monthly | Check the power cord, container condition, blade movement, and motor ventilation openings |
| When performance changes | Stop and investigate new odors, leaks, unusual sounds, vibration or inconsistent starting |
This is a general framework rather than a replacement for the manufacturer’s instructions. Some sealed blade assemblies and gaskets are not designed for user disassembly.
Allow every washed component to dry before storage. Closing a damp lid or reinstalling a wet blade assembly can trap moisture and contribute to odors or residue around seals.
How to Clean a Blender Safely
Unplug the blender before handling the blade area or wiping the motor base. Never submerge the base or allow water to enter its controls, vents, drive socket, or electrical connections.
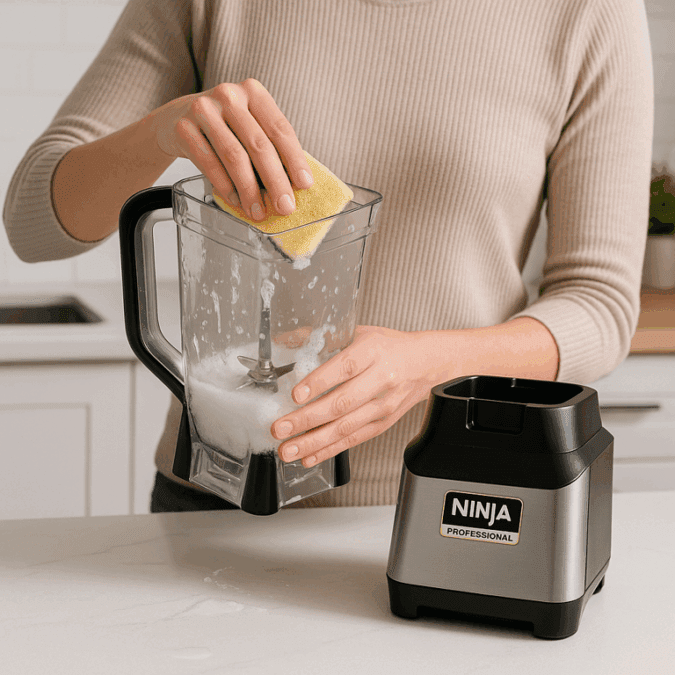
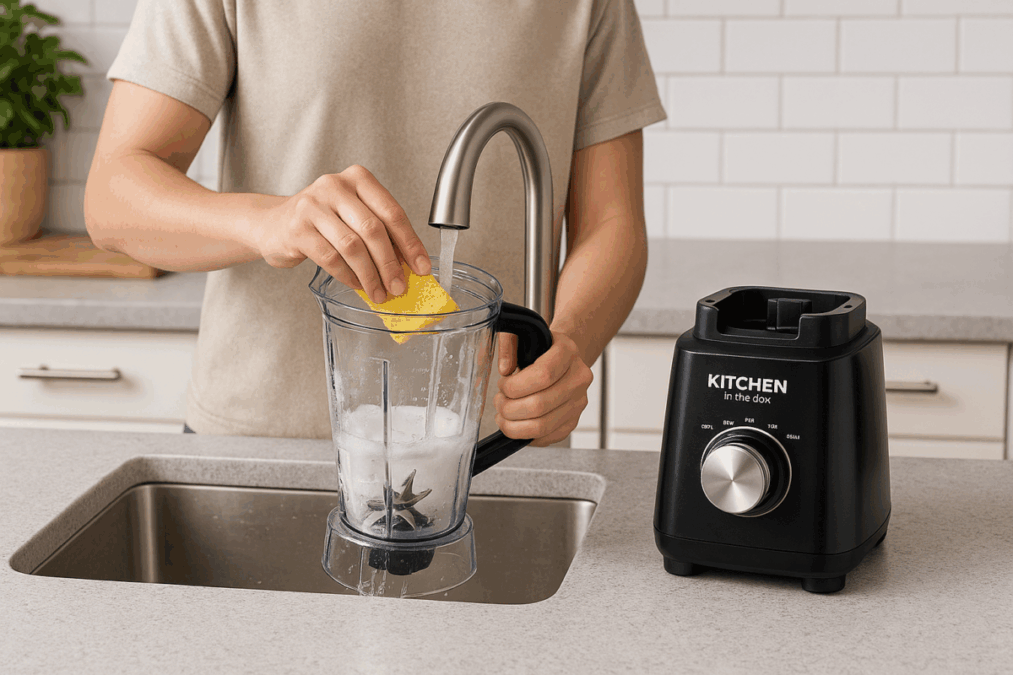
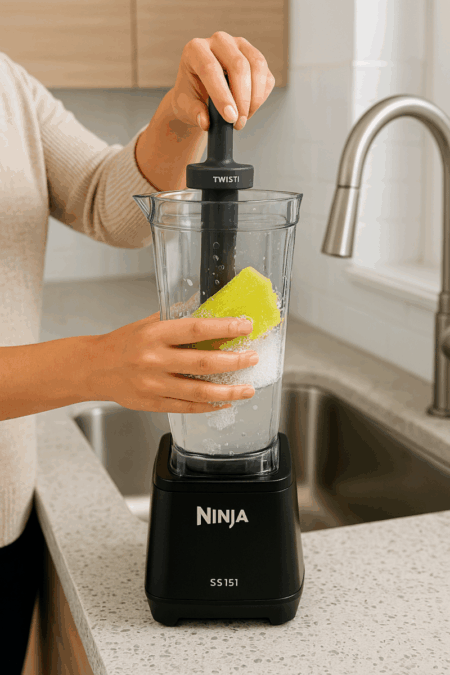
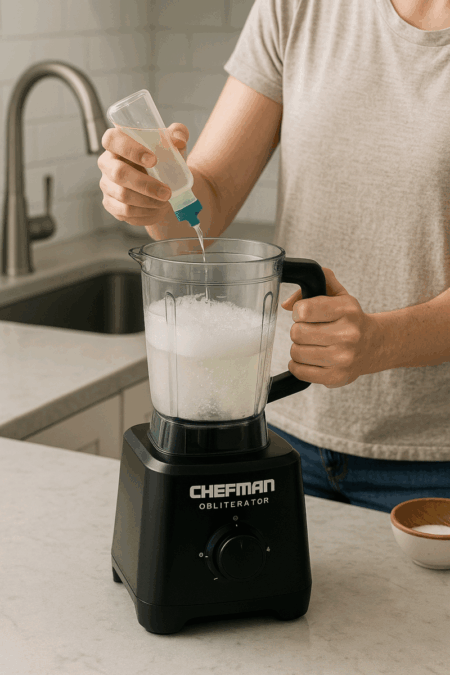
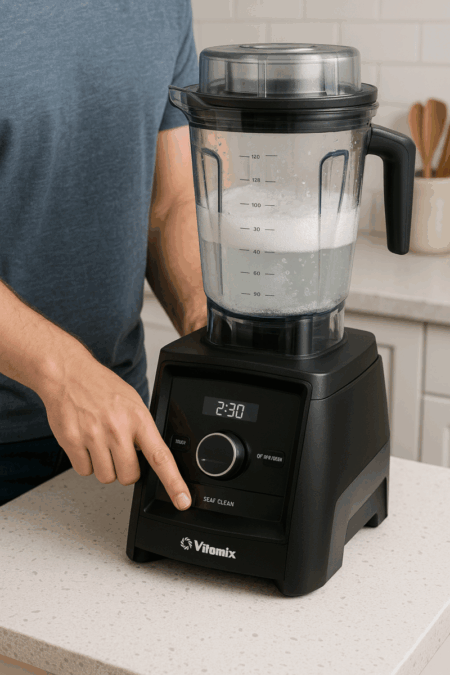
Many blenders can perform a short self-cleaning cycle with warm water and a small amount of mild dish soap. However, the approved water level, speed, and cycle length can vary. Follow the procedure in the manual instead of assuming one method works for every machine.
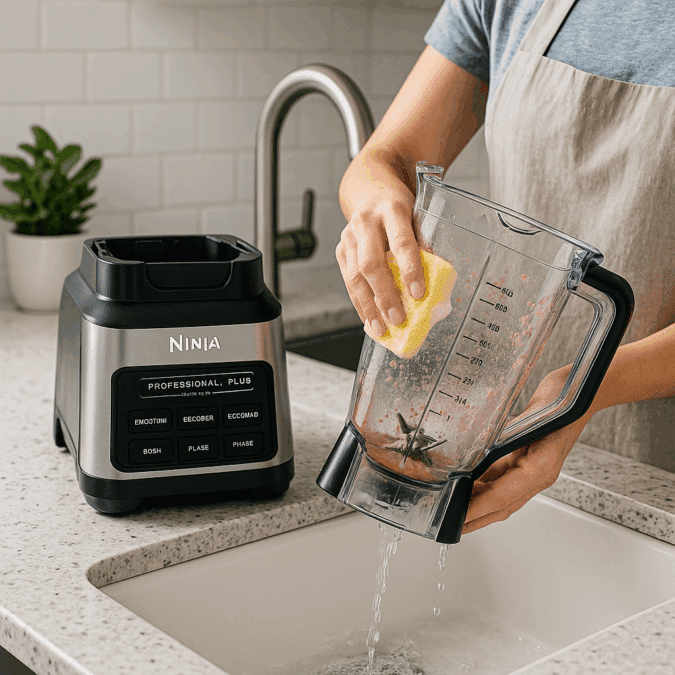
Clean removable components with a soft sponge or brush that can reach beneath lid edges and around threads. Avoid placing your fingers near exposed blades. If the blade assembly can be removed, handle it by its housing rather than its cutting edges.
Do not use boiling water, abrasive pads, or strong cleaning chemicals unless the manufacturer specifically approves them. Excessive heat can distort some plastic components, while abrasives can scratch a container and make cloudy surfaces more noticeable.
Can blender parts go in the dishwasher?
Only use the dishwasher when the manual identifies the specific part as dishwasher safe. A pitcher may be dishwasher safe while its blade assembly, lid, gasket, or personal cup requires different care.
Also check whether the manufacturer specifies the top rack or a particular cycle. Never put the motor base in a dishwasher or sink.
Cleaning the motor base
Unplug the machine and wipe the exterior with a slightly damp cloth. Pay attention to dried spills around buttons, locking tabs, and the drive area, but do not pour or spray cleaner directly onto the base.
Use a dry, soft brush around ventilation openings when dust is visible. Do not insert tools into the vents or open the housing. Internal electrical work belongs with the manufacturer or a qualified repair provider.
Why a Blender May Leak From the Bottom
A blender leaking from the bottom can have several causes. The container may be overfilled, the blade assembly may be installed incorrectly, a seal may be dirty or damaged, or the container itself may have developed a crack.
Unplug the blender and remove it from the motor base. Dry the outside of the container, then inspect the parts that the manufacturer allows the owner to remove. Look for residue on sealing surfaces, visible cracks, and components that are loose or incorrectly seated.
Do not keep running the blender if liquid has reached the motor base. Continued use can create an electrical hazard or damage the drive system.
A worn seal does not always mean the entire blender needs replacement. The manufacturer may sell a compatible blade assembly, container, or lid. Confirm the exact model number before ordering.
What to Do When a Blender Smells Like Burning
A new burning odor is a reason to stop the blender. Unplug it and allow it to cool according to the manufacturer’s guidance.
The odor may follow an overloaded container, stalled ingredients, blocked ventilation, or repeated cycles without enough cooling time. It can also indicate a problem with the drive components, blade assembly, or motor.
Do not assume the smell is harmless because the blender starts again after cooling. Check for ingredients lodged around approved removable parts and confirm that the container was loaded within its limits.
If the odor returns during an ordinary load, discontinue use and contact the manufacturer. Smoke, sparks, melted plastic, cord damage, or liquid inside the base require immediate removal from service.
When a Blender Is Not Working
Start with the simple checks that do not require opening the appliance. Confirm that the outlet works, the cord is undamaged, and the container is seated in the required position. Some models will not start unless the lid, pitcher or cup engages a safety switch.
If the blender stopped during use, thermal protection may have interrupted operation. Unplug it and follow the manual’s cooling or reset procedure. Do not repeatedly restart a machine that shuts down under a normal load.
A blender that receives power but does not respond may have a damaged control, safety switch, drive component, or internal electrical fault. Do not remove the motor housing unless the manufacturer explicitly provides an owner-service procedure.
Model-specific troubleshooting matters here. Light patterns, locking systems, and reset procedures differ even among blenders from the same company.
When the Blade Is Not Spinning Properly
Stop the blender if you hear the motor, but the blade does not turn normally. Unplug it before inspecting the container.
Ingredients may have stopped circulating, the mixture may be too thick, or a removable blade assembly may be obstructed. Follow the manual’s instructions for clearing the container. Never reach into the pitcher while it remains attached to the motor base.
After cleaning, inspect approved removable components for damage. A loose blade, worn drive connection, leaking bearing, or cracked assembly may require replacement rather than another attempt to blend.
Unusual grinding, scraping, or rattling should not be ignored. These sounds can indicate that a component is loose, damaged, or no longer aligned correctly.
Preventing Odors and Residue
Persistent odors often develop when small amounts of food remain around lid channels, threads, blade housings, or seals. Cleaning only the visible container walls may leave these areas untouched.
Wash every removable component approved by the manufacturer and allow it to dry separately. Avoid storing a damp pitcher with its lid tightly closed.
Strongly colored or aromatic ingredients may temporarily affect some containers. Use only stain or odor treatments approved for the container material. Do not combine household cleaning chemicals or assume that vinegar, bleach, baking soda, or high heat is safe for every part.
A lingering burning odor is different from a food smell. Treat it as a possible mechanical or electrical warning rather than a cleaning problem.
Repair, Replace or Contact the Manufacturer?
Minor ownership problems may be corrected through proper assembly, cleaning or an approved replacement part. Electrical damage, smoke, recurring overheating and liquid entering the base require a more cautious response.
Before paying for a repair or replacement, check:
- Whether the blender remains under warranty
- Whether the affected component is sold separately
- Whether the manufacturer has issued specific service guidance
- Whether repair costs approach the price of a suitable replacement
- Whether the same failure is likely to affect other components
Save the model number, serial number, receipt, and photographs of visible damage before contacting customer support. This information can make a warranty conversation easier.
If replacement becomes the practical choice, you can compare replacement choices around capacity, controls, and cleanup without assuming that the most powerful or expensive model will fit your kitchen best.
How IMSolutionRealm Approaches Maintenance Guidance
Our maintenance articles use manufacturer manuals, official care instructions, warranty information, replacement-part documentation, and recurring concerns reported in publicly available owner feedback.
We do not operate a repair shop or testing laboratory. We also do not present research-based guidance as a diagnosis of an individual appliance.
Model-specific instructions take priority over general advice. When a problem involves electricity, smoke, damaged wiring, internal components, or uncertainty about safe operation, stop using the appliance and contact the manufacturer or a qualified repair professional.
Use the maintenance guides above to locate information for your model. Confirm the instructions against its manual before disassembling, cleaning or replacing any component.