Keeping your Vitamix A2500 clean is essential for maintaining its top performance and extending its lifespan. Daily smoothies, soups, and frozen treats can leave behind residue that, if not properly cleaned, can impact both taste and motor function. In this guide, we walk you through basic cleaning after use, deep-cleaning techniques, smart feature care, common mistakes to avoid, and tips for troubleshooting. After using the A2500 daily, we have learned the best methods to keep it spotless and working like new. For additional guides on caring for other models, visit our blender maintenance hub for step-by-step instructions.
Table of Contents
Basic After-Use Cleaning for the Vitamix A2500
Quick Rinse Method
Immediately after each use, rinse the container with warm water to remove leftover food before it dries and hardens.
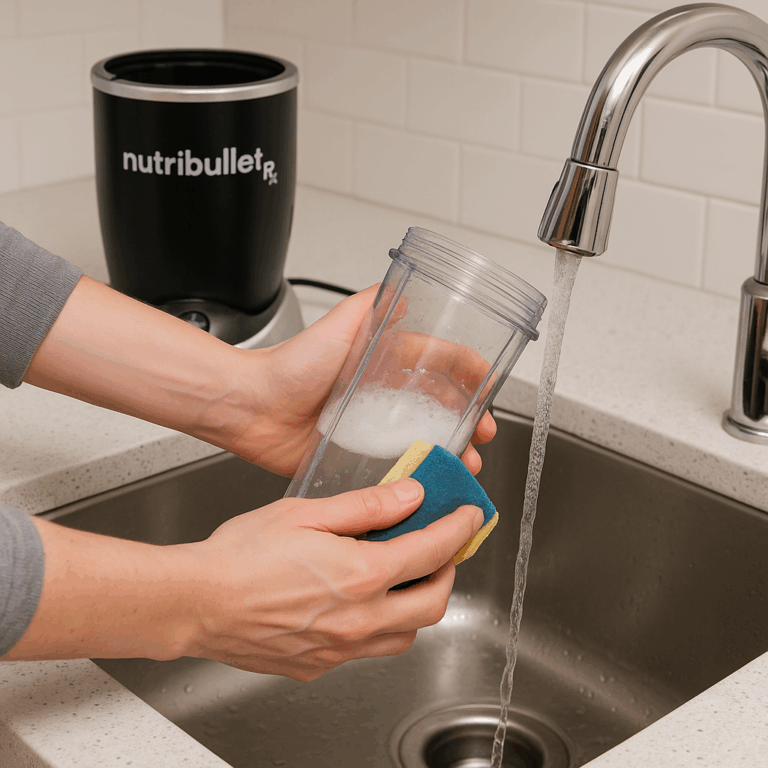
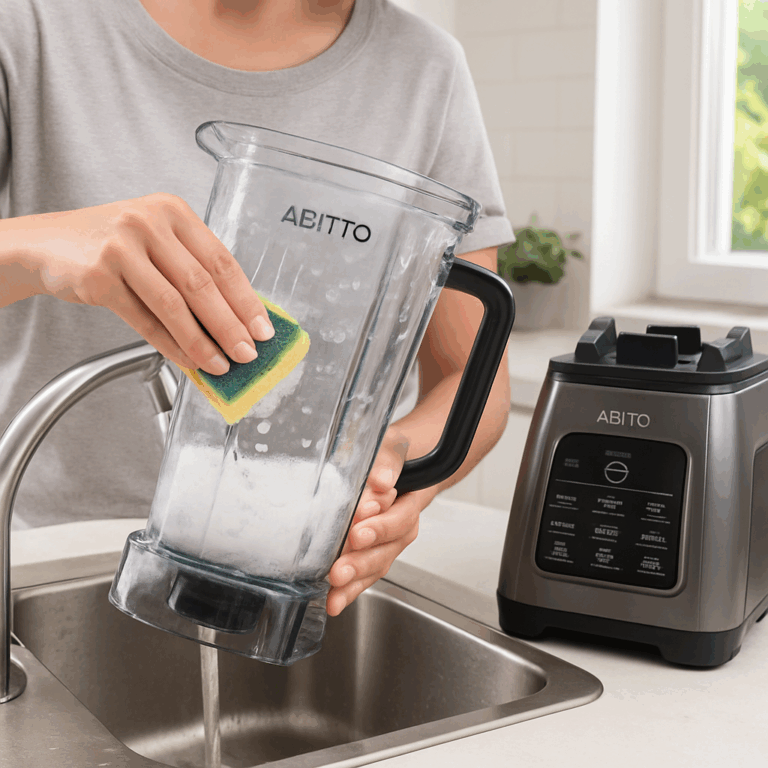
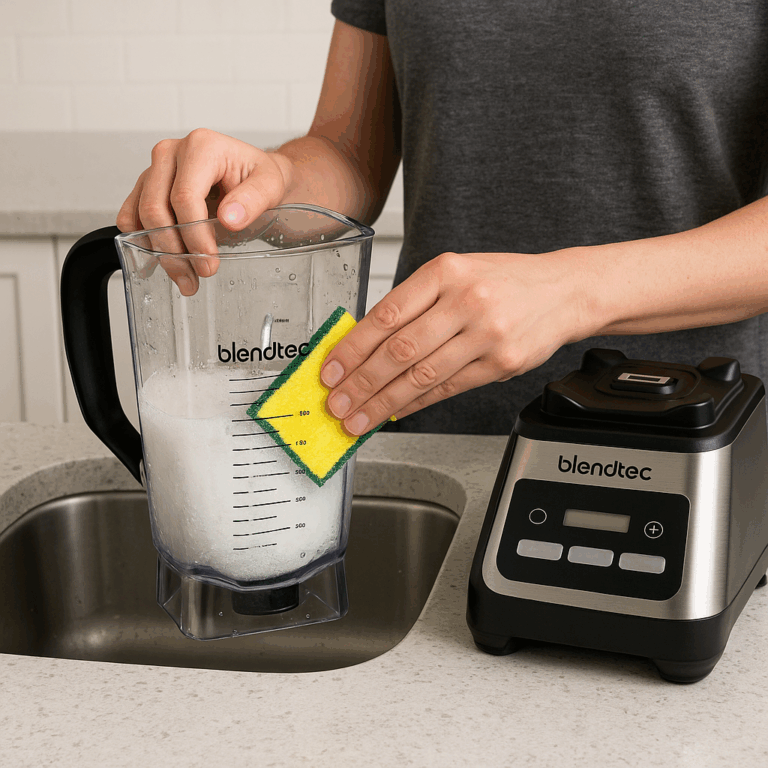
Manual Soap Cleaning
Fill the container halfway with warm water. Add one or two drops of mild dish soap. Scrub the interior with a soft sponge, focusing on the blades and side walls.
Self-Cleaning Cycle
- Fill the container halfway with warm water.
- Add two drops of dish soap.
- Secure the lid tightly.
- Set the blender to “Clean” mode or manually blend on high speed for 30–60 seconds.
- Rinse thoroughly with warm water.
Additional Areas to Clean
- Lid: Scrub the lid and the removable plug separately.
- Gasket: Check and clean the gasket under the lid.
- Tamper: Wash the tamper by hand with warm, soapy water.
How to Deep Clean the Vitamix A2500 (Weekly/Monthly)
Materials Needed
- White vinegar
- Baking soda
- Soft-bristle bottle brush
- Mild dish soap
Deep-Cleaning Method
- Fill the container halfway with warm water.
- Add 1 cup white vinegar.
- Let soak for 4–6 hours.
- Empty and scrub with a soft brush.
- Blend a mixture of water and baking soda to remove stubborn stains.
Dealing with Smells
To neutralize odors, blend a solution of water, lemon slices, and baking soda for 30 seconds.
Dealing with Cloudy Containers
Use a vinegar soak followed by light scrubbing with a baking soda paste. Avoid abrasive pads to prevent scratching.
Caution
- Never soak the motor base or blade assembly.
- Only submerge the container, lid, and tamper.
Caring for Smart Features and Sensors
Cleaning the Smart Detect Base
Wipe the base with a lightly damp microfiber cloth. Avoid excess water around the smart sensors or the control panel.
Cleaning the Touch Controls
Use a soft, slightly damp cloth to clean the touchscreen. Never spray water directly on the control panel.
Smart Feature Care Tips
- Keep the sensors free from food particles to maintain automatic detection accuracy.
- Regularly inspect for moisture buildup around sensor areas.
Common Vitamix A2500 Cleaning Mistakes to Avoid
Dishwashing Errors
The Vitamix A2500’s container is NOT officially dishwasher safe. Hand washing is the safest approach.
Abrasive Cleaning Tools
Avoid steel wool or abrasive sponges, which can scratch the container walls and dull the appearance.
Soaking Mistakes
Never soak the motor base. Water can penetrate internal electronics and damage the blender permanently.
Ignoring Small Parts
Always clean under the lid plug and around the gasket. These hidden spots collect food residue easily.
Troubleshooting Cleaning Issues
Odors That Won’t Go Away
- Soak the container in vinegar overnight.
- Blend lemon water at high speed for a natural deodorizer.
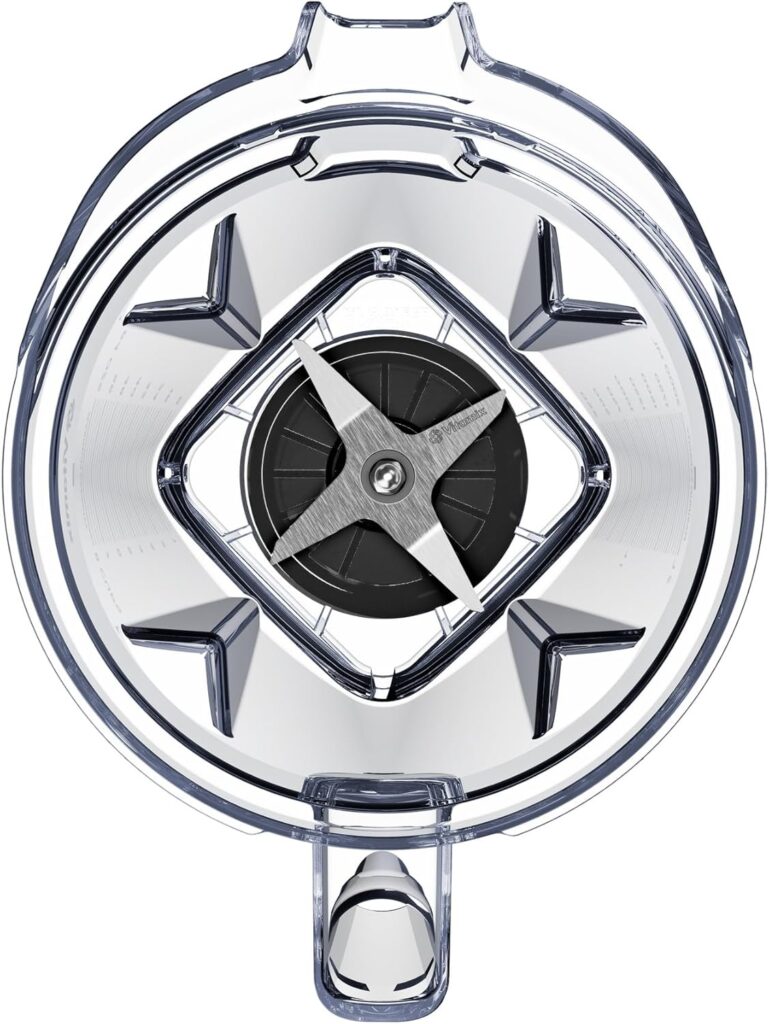
Jammed Blade Assembly
- Fill halfway with warm water.
- Run the blender on a pulse cycle to loosen stuck particles.
- Use a soft brush if needed after pulsing.
Persistent Cloudiness
- Soak in white vinegar for several hours.
- Follow up with gentle baking soda scrubbing.
Smart Base Errors After Washing
- If smart features act up, unplug the unit and let it dry for 24–48 hours to remove moisture.
Learn how to fix common issues in other Ninja models with our Ninja cleaning guide for extra tips.
How Often Should You Clean and Maintain the Vitamix A2500?
| Task | Frequency |
|---|---|
| Basic Rinse & Wash | After Every Use |
| Deep Clean | Weekly or Bi-Weekly |
| Sensor and Base Wipe | Weekly |
| Lid & Tamper Cleaning | After Every Use |
Consistent care ensures your A2500 remains powerful, safe, and clean for years.
How to Clean Vitamix A2500 After Making Nut Butters or Thick Blends
Nut butters and thick blends leave sticky, stubborn residues inside the container and around the blades. To clean effectively:
- Immediately rinse with warm water after blending.
- Fill the container halfway with hot water and a few drops of dish soap.
- Run a full cleaning cycle or blend manually on high for 60 seconds.
- For stuck oils, soak the container with a solution of baking soda and vinegar before scrubbing gently.
Avoid letting nut butter residue dry, as it becomes much harder to remove later.
Best Cleaning Tools and Products for Vitamix A2500
Recommended cleaning tools:
- Soft Bottle Brush: Ideal for reaching the blade assembly and corners.
- Microfiber Cloth: Perfect for wiping the base without scratching.
- Unscented Mild Dish Soap: Prevents strong smells from clinging to the container.
- White Vinegar: Natural deodorizer and stain remover.
- Baking Soda: Great for lifting tough stains.
Avoid using scented soaps heavily, as they can leave residues that affect taste.
How to Store the Vitamix A2500 to Keep It Clean Between Uses
Proper storage prevents dust, odors, and bacteria buildup:
- Always air-dry the container upside down on a dish rack.
- Store the tamper separately to prevent mold or bacterial growth.
- Wipe down the motor base weekly with a dry microfiber cloth if the blender sits unused.
- Keep the lid loosely placed on the container to prevent trapped moisture.
Signs Your Vitamix A2500 Needs a Deep Clean
Watch for these warning signs:
- Persistent odors even after normal cleaning.
- Visible residue or cloudiness inside the container.
- Sensors on the smart base are misreading the container.
- Overheating, longer blend times, or strange noises during blending.
If you notice any of these, it’s time for a deep clean to restore peak performance.
Conclusion
Your Vitamix A2500 is an investment in kitchen efficiency and health. Regular, careful cleaning helps it perform at its best and prevents premature wear. With just a few extra minutes after use and deeper attention weekly, your A2500 can deliver reliable results for years. Get into the habit early, and it will become second nature—your smoothies, soups, and nut butters will thank you. For more blender reviews, comparisons, and maintenance resources, explore our complete blender collection to discover the best models for your kitchen.
FAQ: Vitamix A2500 Cleaning
Can I put my Vitamix A2500 container in the dishwasher?
It is not recommended. Hand washing helps protect the container and smart sensors.
How do I remove a strong odor from the Vitamix A2500?
Blend lemon slices and baking soda with water for 30 seconds, or soak in white vinegar.
What should I do if the container gets cloudy?
Soak it in white vinegar for several hours, then scrub gently with baking soda paste.
How can I clean stuck food around the blade assembly?
Pulse warm soapy water at high speed, then use a soft brush if necessary.
Is it safe to wipe the control panel with water?
Only with a slightly damp microfiber cloth—never spray water directly onto the panel.
How often should I deep clean the A2500?
At least once a week for frequent users.
What happens if the smart base gets wet?
Unplug immediately and let it dry for at least 24–48 hours.
What’s the fastest way to clean after a smoothie?
Run the self-cleaning cycle with warm water and a few drops of dish soap.